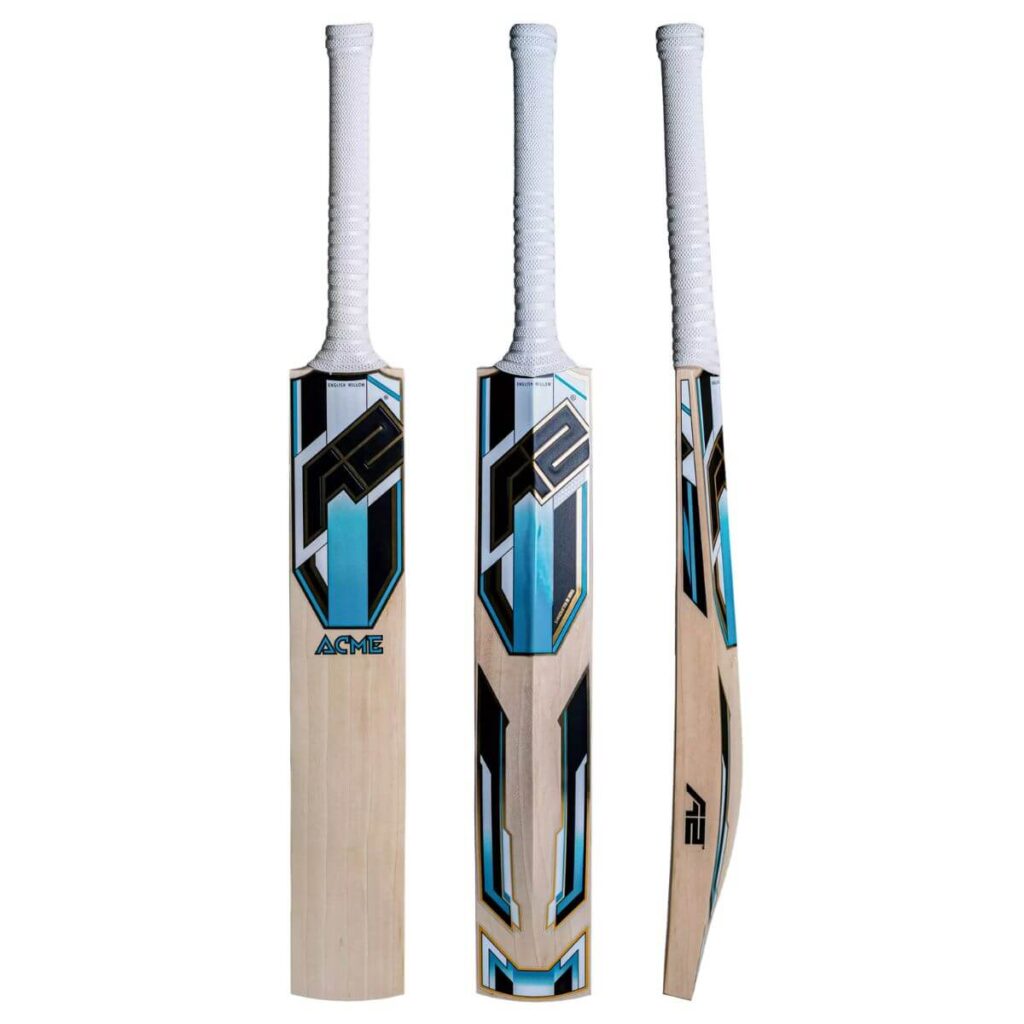
Cricket bats are not just tools for a game; they are treasured possessions for many players. Taking proper care of your bat can significantly extend its lifespan and maintain its performance. In this comprehensive Cricket Bat Care Guide, we will cover everything you need to know about cricket bat care, including tips on preparing a new bat, knocking-in, oiling, and repairing your bat. Let’s dive into the detailed guide on how to keep your cricket bat in top-notch condition.

Cricket Bat Care Tips
Proper care of your cricket bat involves several steps. Here are some essential tips to keep your bat in top condition:
- Store in a Cool, Dry Place: Always store your cricket bat in a cool, dry place away from direct sunlight and moisture. Excessive heat can cause the wood to dry out and crack, while moisture can lead to swelling and damage. Maintaining the right environment is crucial to the longevity of your bat.
- Use a Bat Cover: Using a bat cover when transporting or storing your bat can protect it from scratches, dirt, and other potential damage. A cover provides an extra layer of protection, ensuring that your bat remains in good condition during transit and storage.
- Regular Inspection: Regularly inspect your bat for any signs of wear and tear, such as cracks, splits, or loose handles. Early detection can prevent further damage and allow for timely repairs. Make it a habit to check your bat after every game or practice session.
- Avoid Hitting Hard Balls Initially: Avoid using your bat to hit hard balls until it has been properly knocked in. This can prevent damage to the bat’s surface and edges. Starting with softer balls helps in conditioning the bat gradually.
- Use Protective Tape: Applying protective tape to the edges and toe of the bat can help prevent damage during play. Fiberglass tape is a popular choice for this purpose. This tape acts as a shield, absorbing the impact and reducing the risk of cracks and splits.
New Cricket Bat Care
When you purchase a new cricket bat, it requires some initial preparation before it is ready for use in matches. Here’s what you need to do with a new cricket bat before playing:
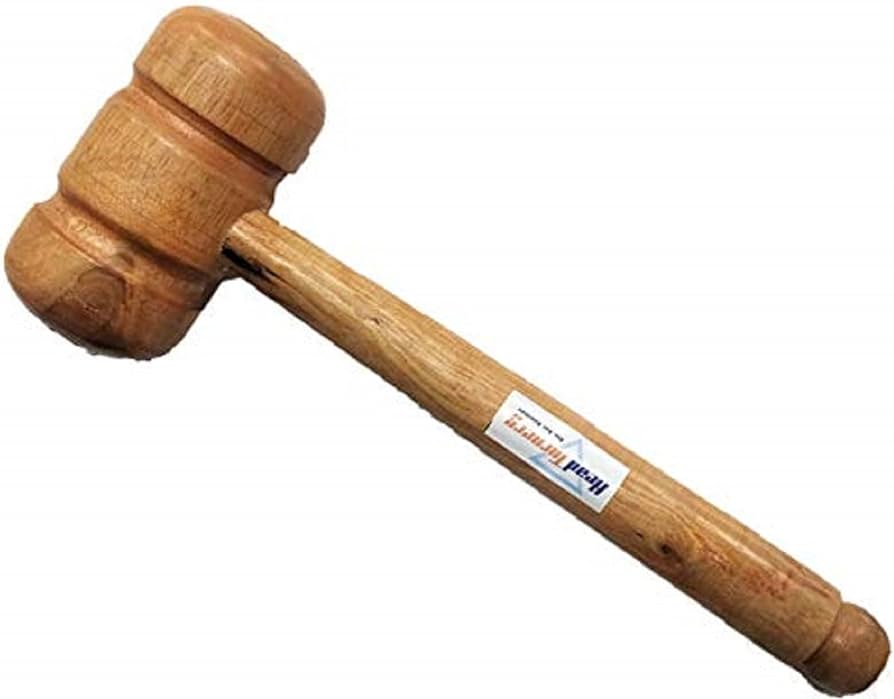
- Knocking In: Knocking in is the process of compressing the fibers of the bat’s willow to make it more resilient. This is a crucial step to prevent the bat from cracking. Knocking in should be done carefully and thoroughly over a period of several hours. Use a wooden mallet or an old ball in a sock for this process. Begin with gentle taps and gradually increase the force.
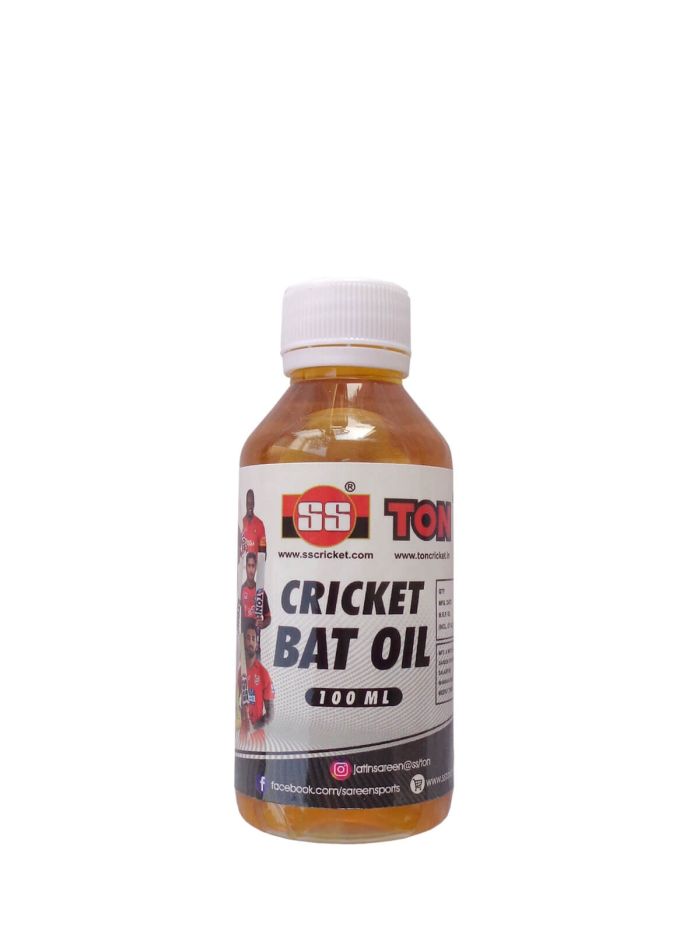
- Oiling: Applying raw linseed oil to your bat helps to maintain the moisture content of the wood, preventing it from becoming dry and brittle. Use a cloth to apply a thin layer of oil to the face, edges, and back of the bat. Allow it to dry for 24 hours, then repeat the process 2-3 times. Oiling not only nourishes the wood but also helps in the knocking-in process.
- Gradual Introduction to Play: After knocking in and oiling, start using your bat with softer balls and gradually progress to harder balls. This will further help to condition the bat and prepare it for match use. This gradual introduction ensures that the bat adapts to the rigors of play without suffering damage.
Cricket Bat Knocking
Knocking in your cricket bat is a vital step in bat preparation. Here’s a detailed guide on how to do it:
Tools Needed: You will need a wooden mallet or an old ball in a sock. The right tool can make a significant difference in the effectiveness of the knocking-in process.

Process
- Edges and Toe: Start by gently tapping the edges and toe of the bat. This helps in compressing these areas without damaging them. The edges and toe are more susceptible to damage, so they require extra attention.
- Face: Move on to the face of the bat, tapping firmly but not too hard. The aim is to compress the fibers without causing cracks. Ensure even coverage by working across the entire face of the bat.
- Duration: The knocking-in process should be done for around 6-8 hours. It is better to spread this over several days. This gradual approach helps in achieving a well-conditioned bat.

Oiling your cricket bat is another essential step in its maintenance. Here’s how to oil a cricket bat:
- Clean the Bat: Ensure the bat is clean and dry before oiling. Remove any dirt or debris that might interfere with the oiling process.
- Apply Oil: Use raw linseed oil and apply a thin layer using a soft cloth. Cover the face, edges, and back, but avoid the splice area where the handle meets the blade. Applying oil to the splice can weaken the bond between the handle and the blade.
- Drying Time: Allow the bat to dry horizontally for 24 hours. Do not stand it on its toe or lean it against a wall. Proper drying ensures that the oil is absorbed evenly.
- Reapplication: Repeat the oiling process 2-3 times, allowing it to dry completely between each application. Multiple layers of oil provide better protection and conditioning.
How to Repair a Cricket Bat
Even with the best care, cricket bats can get damaged. Here’s how to repair common issues:
- Cracks and Splits: Small cracks can be fixed using PVA glue or the best glue for cricket bat repair, which is a strong, flexible adhesive. Apply the glue to the crack, clamp it, and let it dry completely. Once dry, sand the area smooth and reapply protective tape if necessary.
- Loose Handle: If the handle becomes loose, it may need re-binding. This involves wrapping new string around the handle and applying a new grip. Re-binding the handle ensures that it remains secure and comfortable to use.
- Toe Damage: Damage to the toe of the bat can be repaired by sanding down the area, applying wood filler if necessary, and then reapplying protective tape. The toe is prone to damage from contact with the ground, so regular inspection and maintenance are crucial.
- Edge Damage: Use fiberglass tape to reinforce any damaged edges. This can prevent further splitting and provide additional strength. Reinforcing the edges with tape can prolong the life of your bat significantly.
Conclusion
Taking care of your cricket bat is essential to ensure its longevity and performance on the field. By following this Cricket Bat Care Guide, you can keep your bat in excellent condition, ready to deliver powerful strokes and withstand the rigors of the game. Remember to regularly inspect, oil, and knock-in your bat, and address any repairs promptly to enjoy a reliable and durable cricket bat for many matches to come. Proper bat care is an investment in your game, ensuring that you can play at your best with a well-maintained piece of equipment.
FAQs on Cricket Bat Care Guide
Q1. How to take care of a cricket bat?
A1. To care for your cricket bat, apply linseed oil, knock it in with a bat mallet, protect the toe, store it in a cool, dry place, and clean it regularly after use.
Q2. What is knocking in cricket bat?
A2. Knocking in a cricket bat involves gently hitting the bat’s surface with a bat mallet or old cricket ball to compress the fibers, making the bat stronger and more durable for gameplay.
Q3. What to do with a new cricket bat before playing?
A3. Before using a new cricket bat, it’s important to oil it with linseed oil, knock it in with a mallet to compress the fibers, and apply a toe guard for protection.
Q4. How to oil a cricket bat?
A4. To oil a cricket bat, apply a light coat of linseed oil using a soft cloth or your fingers. Allow it to dry horizontally for 24 hours, then repeat 2-3 times before using the bat.
Q5. What is Short Handle vs Long Handle Cricket Bat?
A5. Short handle cricket bat is designed for players under 6 feet tall, offering better control and maneuverability, while a long handle bat is for taller players, providing additional reach and leverage.